HOW TO USE
Step 1
Spread the adhesive according to the manufacturer’s instructions.
Remove the excess mortar from the edges using a trowel.
Step 2
Insert a T-LOCK clip underneath the tile. According to your tile size, set one or more T-LOCK clips per side.
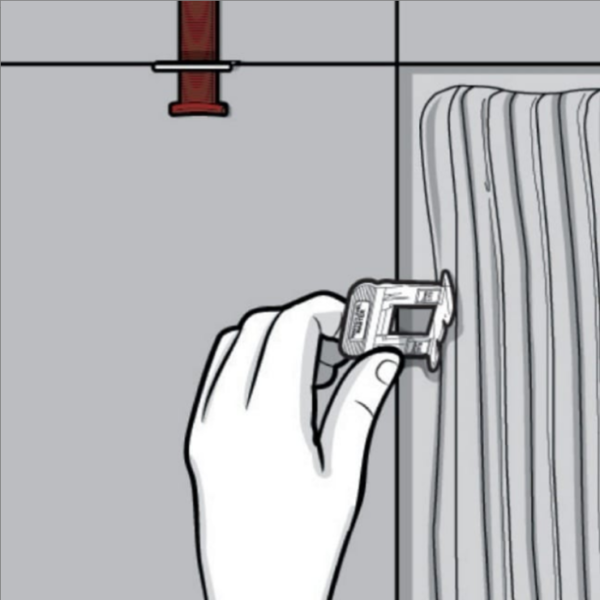
Step 3
Install the adjacent tile ensuring proper bondage by firmly pressing in place.
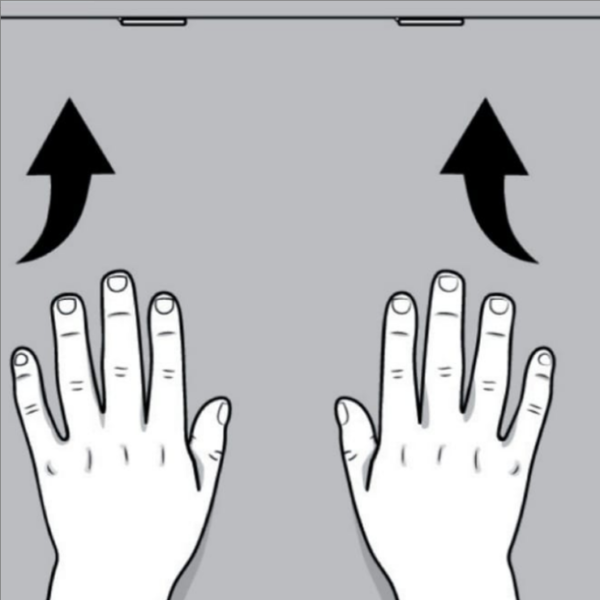
Step 4
Insert a Wedge into the clip until you feel resistance.
Tighten, to ensure there is no variation in height of the adjoining tiles.

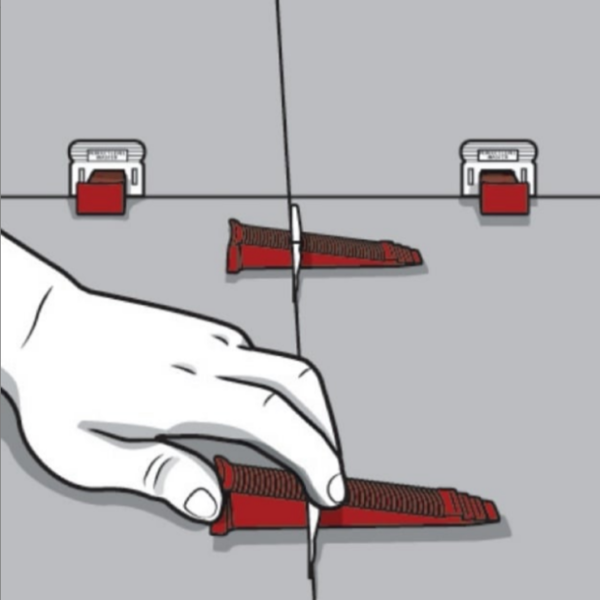
Step 5
After the adhesive has cured to the manufacturers specifications, clips and wedges can be removed using a rubber mallet or by kicking them out following the direction of the grout joints.
FREQUENTLY ASKED QUESTIONS
1. CAN I USE THE T-LOCK SYSTEM ON WALLS?
Yes, the T-Lock system can be applied to any surface.
2. DOES IT MATTER WHAT SIZE WHITE CLIPS I USE FOR MY GROUT LINE?
No, you can always use a smaller grout size clip and use our Tile Crosses to make up the difference. By using this trick you can reuse more of your material and it offers the installer greater flexibility.
3. WHY WON’T MY CLIPS BREAK CLEANLY BELOW THE TILE SURFACE ?
This may be because the breaking off of the clips is not done parallel to the grout line. One should always strike the sides of the clips with a rubber mallet or safety shoes parallel to the grout line. Another possibility is the the tile work was left to dry with excess adhesive on the tile edges. This can be avoided by cleaning the edges with a putty knife when the adhesive is still fresh.
4. WHY IS IT THAT SOMETIMES MY GROUT LINE BECOME WIDER I PUSH THE WEDGE INTO THE CLIP?
It is important to pay attention to the direction that one is placing the wedges. For best results, insert the red wedge towards the already installed tiles.
5. CAN THIS BE USED OUTDOORS ?
100% – Perfect Level Master is great for Indoor & Outdoor Usage.